

1,859 views
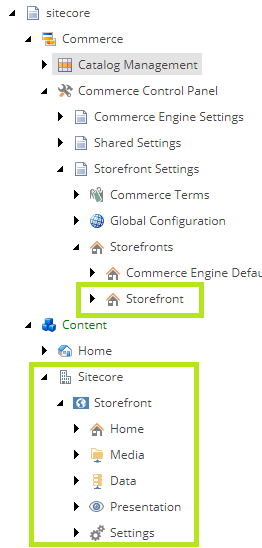
In this article, we will look at applying a workaround in order to install the default storefront tenant and site during the Sitecore Commerce 9.1 installation as unfortunately there’s a bug that prevents these from being created during the installation.
Workaround Steps
Note: This has been tested and verified against the On Premise packages.
- Following on from the installation guide’s step, 2.2. Download the Sitecore XC release package and prerequisites, navigate and extract the file named xml from Sitecore Commerce Experience Accelerator Storefront 2.0.181.zip\package.zip\items\master\sitecore\system\Modules\PowerShell\Script Library\CXA – Internal\Web API\CreateDefaultStorefrontTenantAndSite\{6FEC77C8-00DC-4B7B-9597-82588616A1F2}\en\1.
- Open the file and add the following snippet before Function CreateCXATenant.
#Override Write-Progress to avoid errors which happen because of impossibility to write-progress in non-interactive sessions Function Write-Progress { [CmdletBinding()] param( [Parameter(Mandatory = $false)] $Activity, [Parameter(Mandatory = $false)] $CurrentOperation, [Parameter(Mandatory = $false)] $Status, [Parameter(Mandatory = $false)] $PercentComplete, [Parameter(Mandatory = $false)] [switch]$Completed ) process { # do nothing } } - Replace the file in the archive with the updated file.
- Continue to follow the installation guide.
When the deployment script run in step 3.2. Run the deployment script, the default tenant and site will now be created.