

In this article, we will look at preparing the BizFx project for customisation, by first aligning the default configuration of the SDK with the configuration that was deployed with the Sitecore Commerce installation, and then reviewing how to build and deploy solution.
Fair warning: I am not an expert in Angular, however the information provided is enough for getting started and performing the bare minimum to align the BizFx SDK for custom solutions.
Creating the BizFx Development Solution
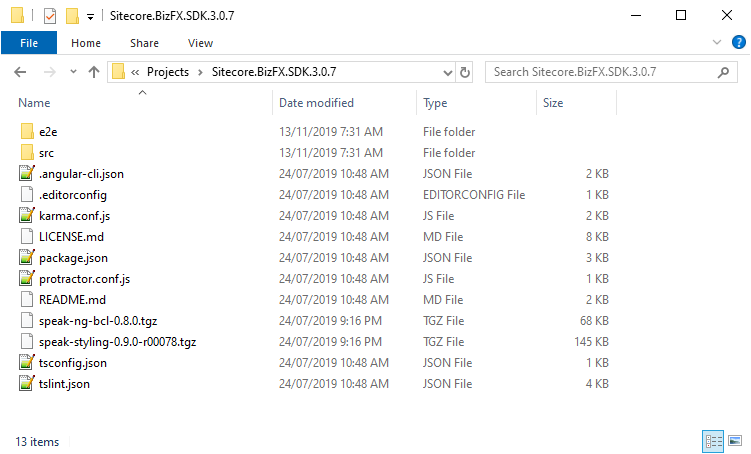
The Sitecore Commerce On Premise package contains the BizFx SDK and the speak files that will be required for the new project.
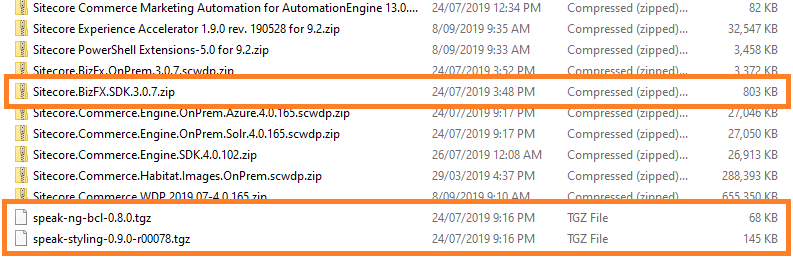
Extract the contents of the Sitecore.BizFX.SDK.*.*.*.zip into your desired folder location, e.g. C:\projects\, and copy the speak-ng-bcl-*.*.*.tgz and speak-styling-*.*.*-r*****.tgz files into the same folder as the SDK.
The BizFx SDK does come with a README.md file containing some general instructions on preparing the solution for building, however we will highlight the main aspects of these instructions and cover some addition steps for local and production deployments.
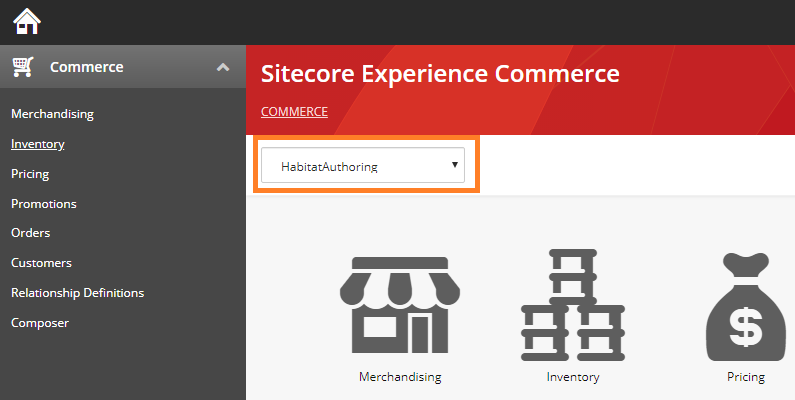
In src\assets\config.json we need to copy the values from our local BizFx installation, located by default at <web root>\<BizFx>\assets\config.json, so that when we deploy our new version the configuration isn’t corrupted. You’ll notice the values that need to be updated are named ‘PlaceholderFor<context>’.
{
  "EnvironmentName": "HabitatAuthoring",
  "EngineUri": "PlaceholderForAuthoringUrl",
  "IdentityServerUri": "PlaceholderForIdentityServerUrl",
  "BizFxUri": "PlaceholderForBizFxUrl",
  "Language": "PlaceholderForDefaultLanguage",
  "Currency": "PlaceholderForDefaultCurrency",
  "ShopName": "PlaceholderForDefaultShopName",
  "LanguageCookieName": "selectedLanguage",
  "EnvironmentCookieName": "selectedEnvironment",
  "AutoCompleteTimeout_ms": 300
}
The other value that will need to be updated for projects will be the EnvironmentName, which is used to select the default environment in BizFx.
It is recommended that the LanguageCookieName and EnvironmentCookieName properties remain as their default value as they may only need to be changed for advanced customisations. We will not cover modifying these properties in this article.
Prerequisites for Building
Assuming node installed already, from the BizFx solution folder, open your preferred CLI tool and run the following commands:-
npm config set @speak:registry=https://sitecore.myget.org/F/sc-npm-packages/npm/ npm config set @sitecore:registry=https://sitecore.myget.org/F/sc-npm-packages/npm/ npm install speak-ng-bcl-0.8.0.tgz npm install speak-styling-0.9.0-r00078.tgz npm install @sitecore/bizfx npm install
Building and Deploying the BizFx Solution
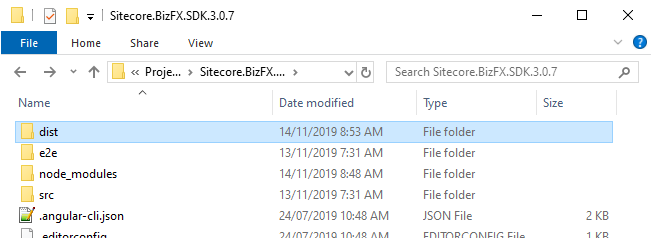
For building the BizFx Angular application, the ng build command will compile into an output folder named dist, defaulting to the workspace folder. Within the dist folder, the sdk will be the equivalent of the <BizFx> website folder in the web root.
For production builds execute the ng build --prod command, which optimises the compiled solution for production deployments.
For more information about the Angular commands see https://angular.io/cli.
To deploy the BizFx solution, copy the contents of the dist/sdk into the <web root>\<BizFx> folder.
Building and Deploying via Gulp
For building and deploying the BizFx solution, I use a gulp script to wrap the angular commands. See the Source Code link at the end of the article to download the script.
If you haven’t installed gulp, run the following command:-
npm install gulp
Running the default gulp command will build the solution, clean out the BizFx folder in the web root and the deploy the solution to the BizFx folder.
As the gulp tasks will be performing operations on system restricted folders, make sure you run the gulp command under Administrator privileges.
Source Code: Ajsuth.BizFx.DeploymentScripts