In this article, we will look at the steps in creating a custom plugin project for the Commerce Engine solution using the current developer experience in XC 10.
Introduction
With XC 10, creating a Sitecore Commerce plugin project is currently not available as a Visual Studio extension project template and has been migrated to the .Net Core CLI as a static project template.
As per previous versions of the the Sitecore Commerce plugin project, this is intended as a reference project representing a loose end-to-end implementation with sample classes. It is also commonly utilised as the starting template for your project, where you will remove the sample classes and utilise the csproj file and the project’s folder structure as the skeleton for your plugins.
Installing the Sitecore.Commerce.Plugin.Template
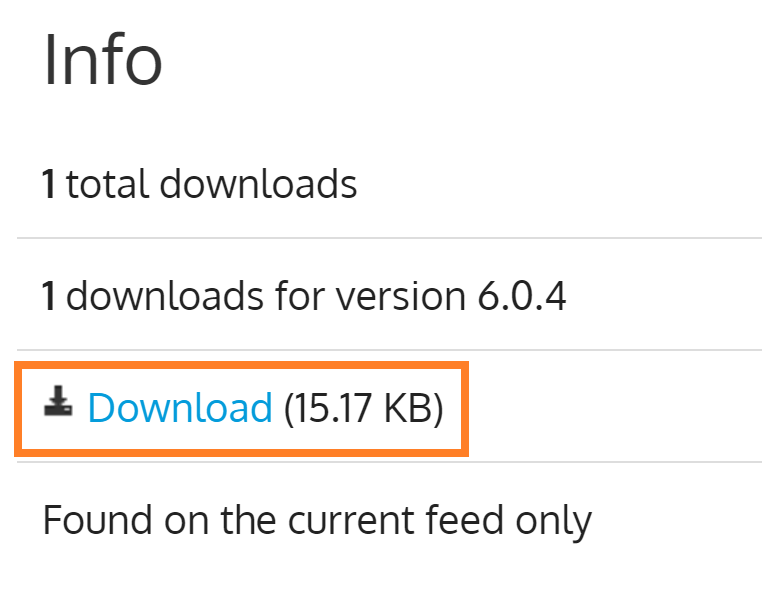
The plugin project template is no longer distributed via the Commerce Engine SDK and is now available via the Sitecore Commerce Official NuGet Feed. To download the project template, search for Sitecore.Commerce.Plugin.Template and navigate to the package details page.
On the package details page, scroll down and download the package from right panel under the Info section.
The plugin project template can now be installed via the .Net Core CLI. Open PowerShell and run the following command, dotnet new -i <full path to Sitecore.Commerce.Plugin.Template.*.*.*.nupkg>.
dotnet new -i C:\Projects\Sitecore.Commerce.Plugin.Template.6.0.4.nupkg
Now if we run the dotnet new command in PowerShell, we can see the installed plugin project template.

Creating a new Sitecore Commerce Plugin Project
Now with the plugin project tempate installed, we can create a new project using the template.
Using you Commerce Engine solution’s root directory, the following command will create the plugin project in the desired directory, dotnet new pluginsample -o <relative path to project directory>/<project name>.
dotnet new pluginsample -o src/Foundation/MyPlugin/Engine/Foundation.MyPlugin.Engine
Note: The project name has not been configured at this time, so we will perform some post project creation steps to resolve this.

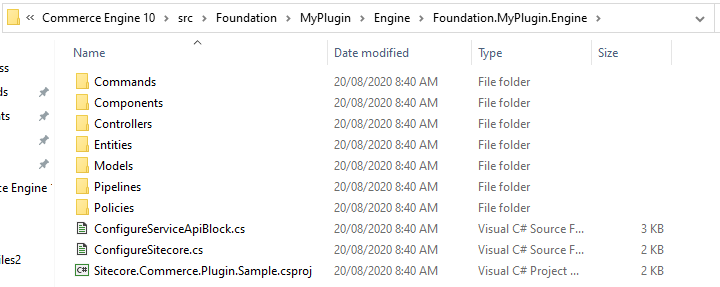
After creating the project, navigate to the folder where the project was created and rename Sitecore.Commerce.Plugin.Sample.csproj to your project name, e.g. Foundation.MyPlugin.Engine.csproj
To resolve namespaces within the project, you can use a tool, such as Notepad++, to replace all references of ‘Sitecore.Commerce.Plugin.Sample’ to <your project name>, e.g. Foundation.MyPlugin.Engine.
Adding the Plugin to the Commerce Engine Solution
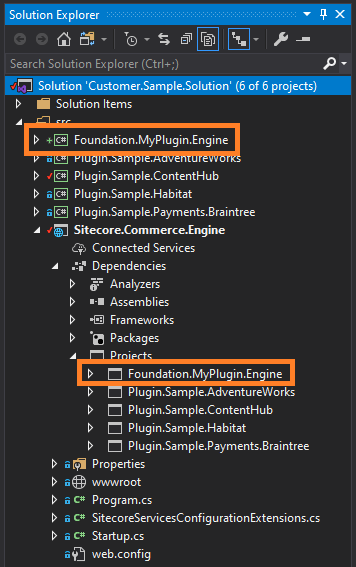
With our new project created, we can add it the Commerce Engine solution by right-clicking a solution folder, selecting the Add Existing Project command, and adding the project from its location.
Finally add the project to the Commerce Engine by adding the project reference to the Sitecore.Commerce.Engine project.